
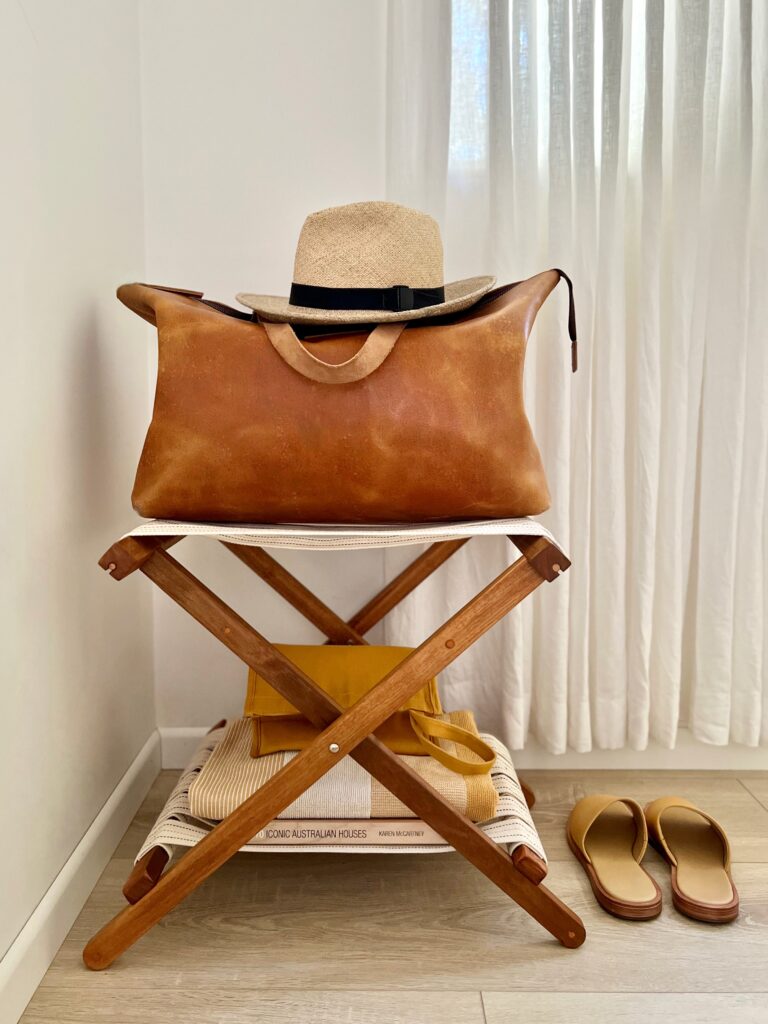
DIY Suitcase Stand (Director’s Chair Hack)
Take one folding chair, reconfigure the frame, add webbing and a lovely timber finish to create a useful piece of furniture that adds extra storage space in guest room.
Our DIY specialist, Natasha Dickins from Little Red Industries, shows how to whip up this clever hack.
I deconstructed a classic folding chair, also called a director’s chair, keeping the folding frames of the seat to reuse. Then I repurposed some of the timber and added webbing to create a suitcase stand that folds down to store when not in use.
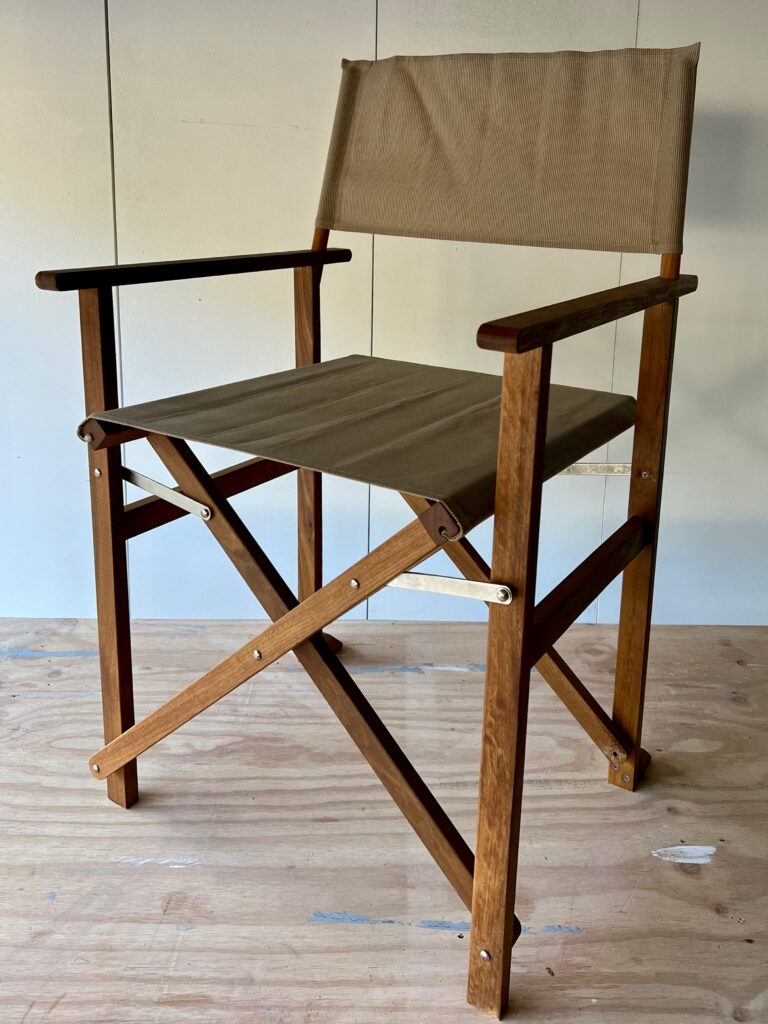
I used a store-bought chair but you might find an old director’s chair in the garage, at a vintage or recycled waste store.
TIP If your chair already has rails across the base or has a different configuration, adjust the steps and measurements to suit.
VIDEO LINK: https://youtu.be/6yYhadnEfds
STEP 1 Remove Fabric
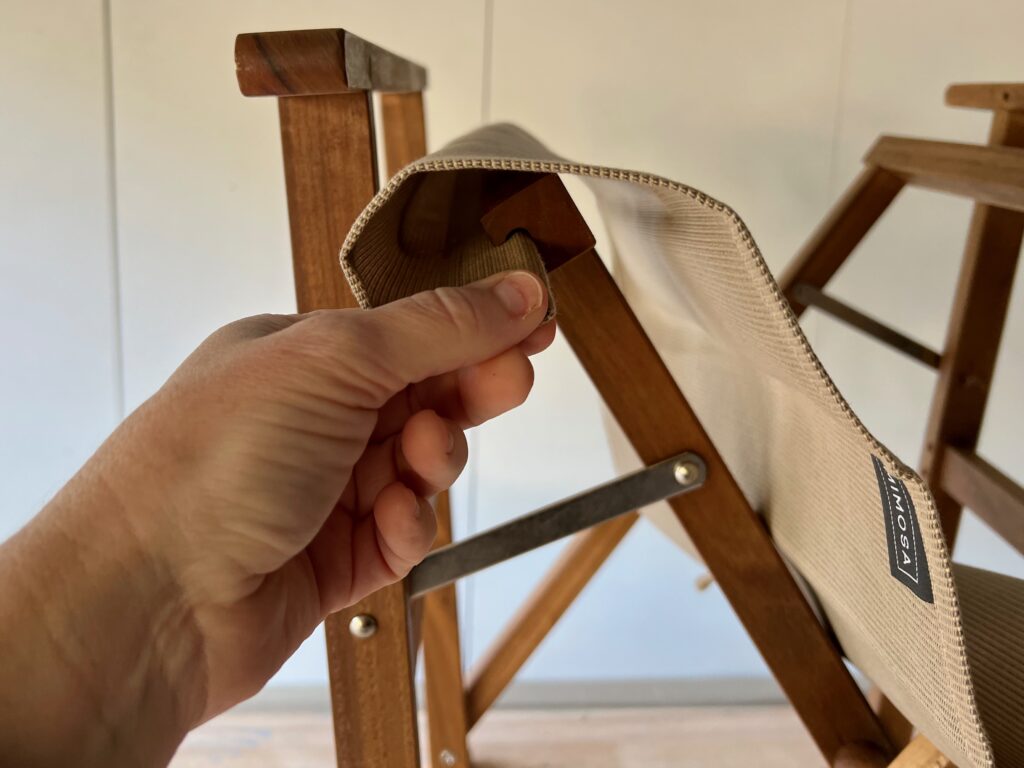
First, I removed the fabric seat and back by sliding them off to the side.
TIP If your chair has staples, remove them with a small flathead screwdriver.
STEP 2 Remove Rivets
To take off the braces and sides that make up the arms and legs, I drilled through the back of the rivets with a 7mm bit, then tapped them through with a nail punch. I set aside the folding seat frames to reuse as the new frame for the rack.
STEP 3 Drill Out
To dismantle the sides, I drilled through the dowel joints with a 5mm bit and tapped the pieces apart with a mallet.
STEP 4 Mitre Box
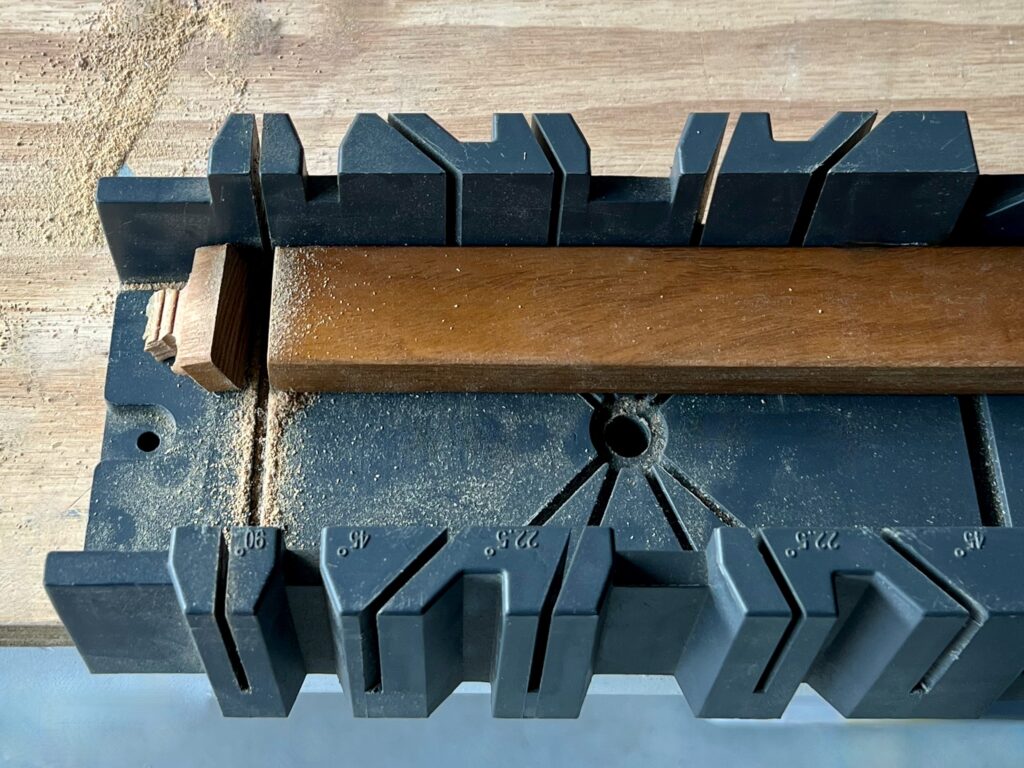
Using a mitre box with a handsaw, I cut down pieces from the sides to 435mm and 330mm for rails to fit inside the folding seat frames.
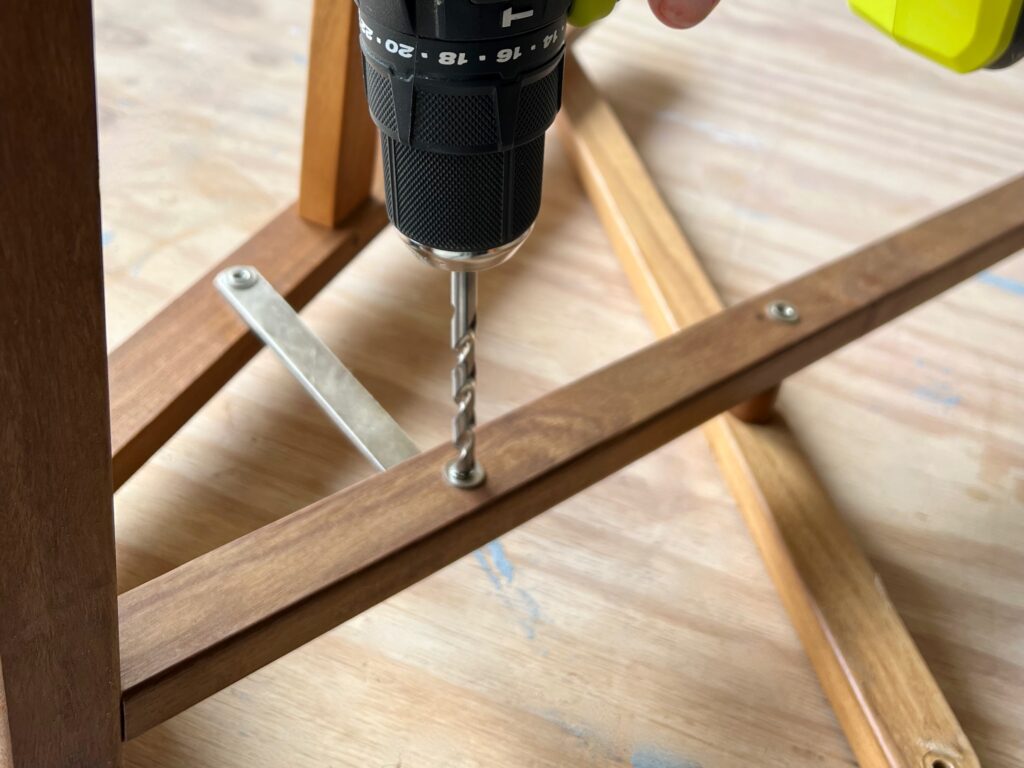
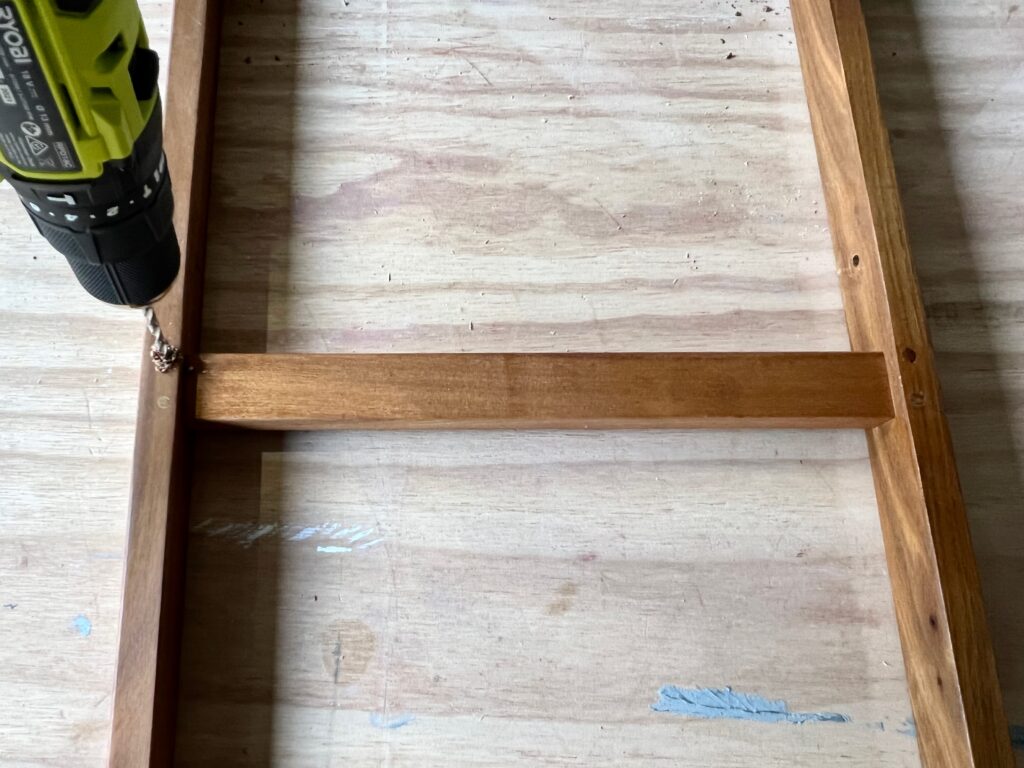
STEP 5 Rails
Then I attached the longer rail to the outside of the larger seat frame, and the shorter rail to the smaller seat frame, positioning them 80mm up from the base.
TIP First use an 8G combination countersinking bit to make the screw holes through the rails, then pre-drill right through with a 3mm bit. Secure to the frames with Bondall Bondcrete woodworking adhesive and 8G x 40mm timber screws.
STEP 6 Dowels
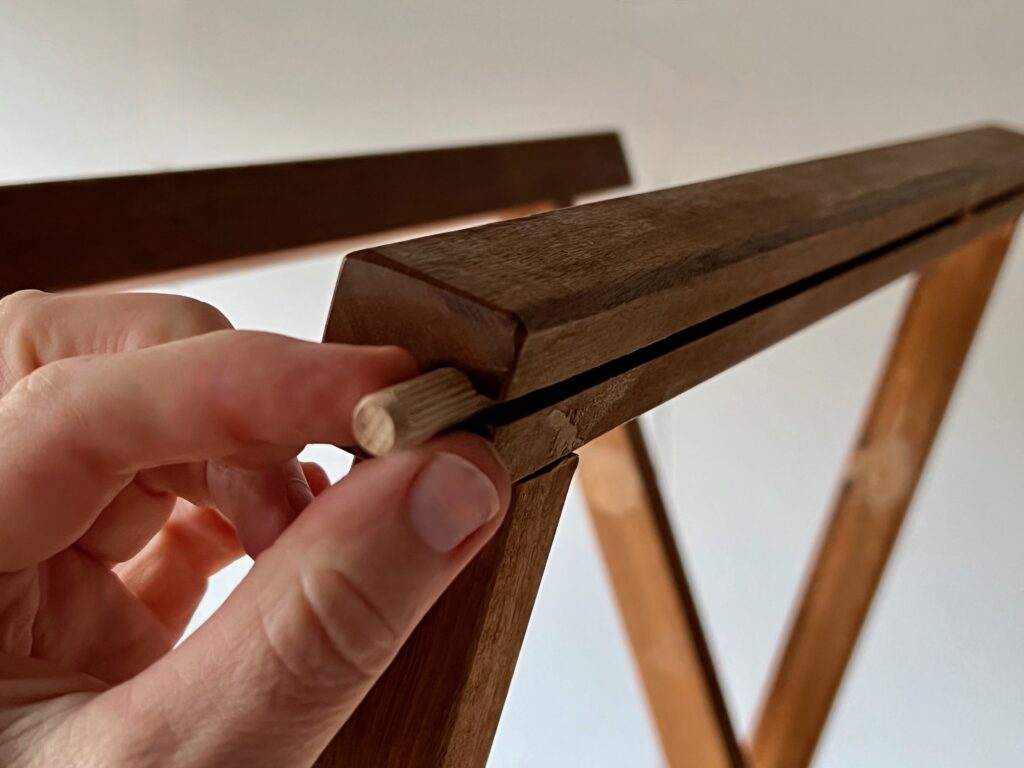
I used four 8mm x 38mm fluted woodworking dowels to fill the grooves in the sides of the seat frames, applying Bondall Bondcrete woodworking adhesive and pushing them in flush with the ends.
STEP 7 Fill
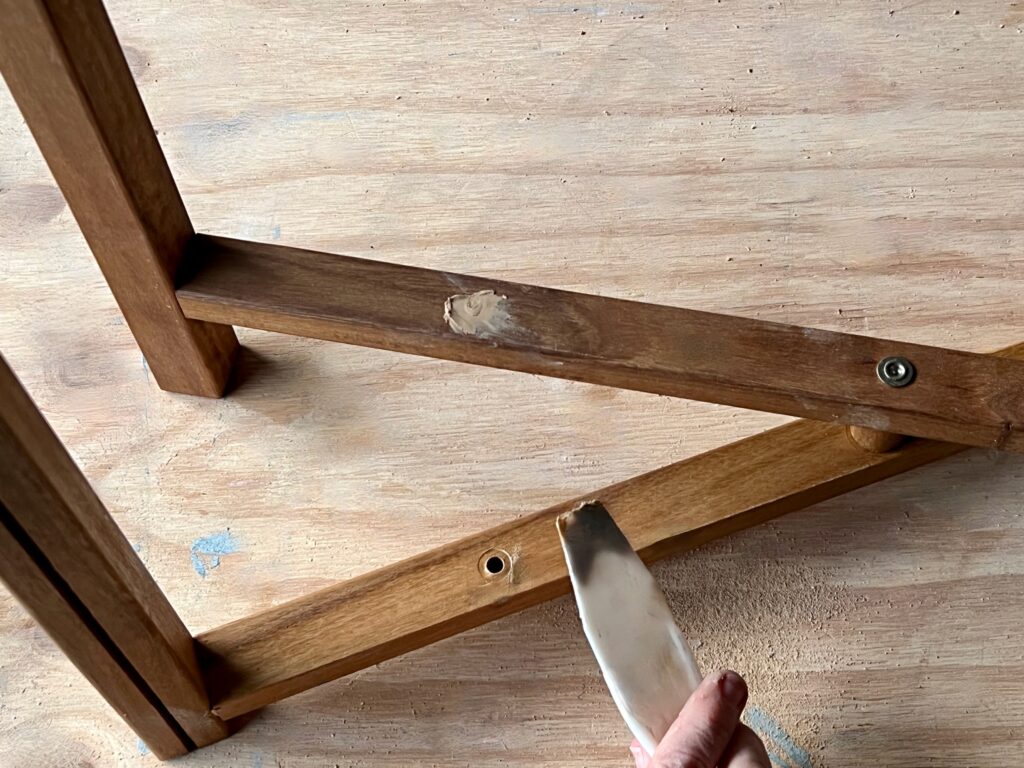
Sanding with 120-grit paper removed breakout around the screws, then I smoothed over the holes with timber filler in a hardwood tint and left it to dry.
STEP 8 Sand
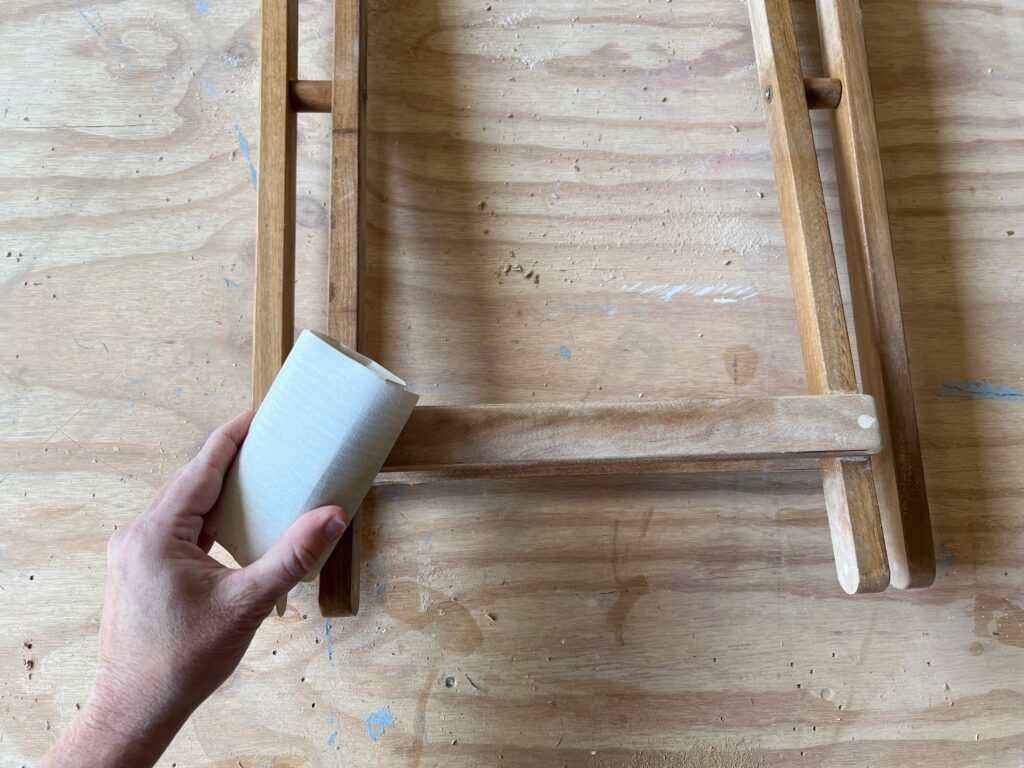
After sanding off the excess filler with 120-grit, I smoothed all over and rounded any cut edges with 180-grit.
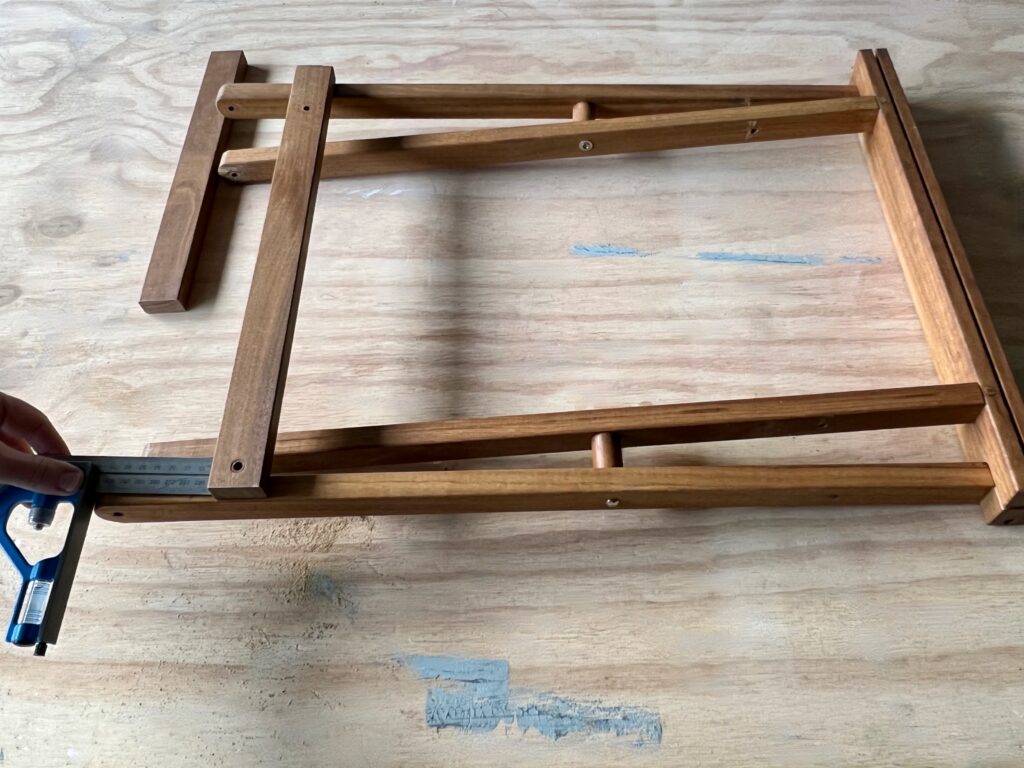
STEP 9 Seal
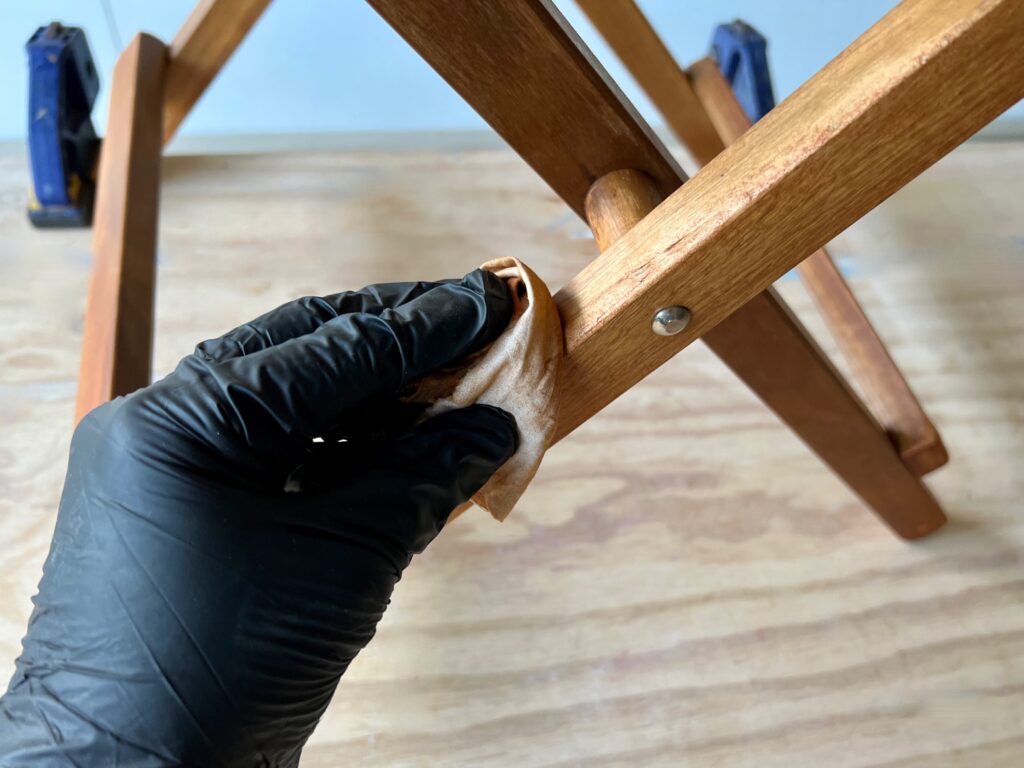
I positioned clamps on the bench to hold the frame open for applying sealer. First, I dabbed Monocel Brush-On Liquid Wax on a cloth then mixed in a pinch of sawdust to create a matching tint to rub over the end-grain cuts and timber filler. Then I used a clean cloth to apply the first coat of Monocel Brush-On Liquid Wax and left it to dry for an hour before applying a second coat.
STEP 10 Webbing
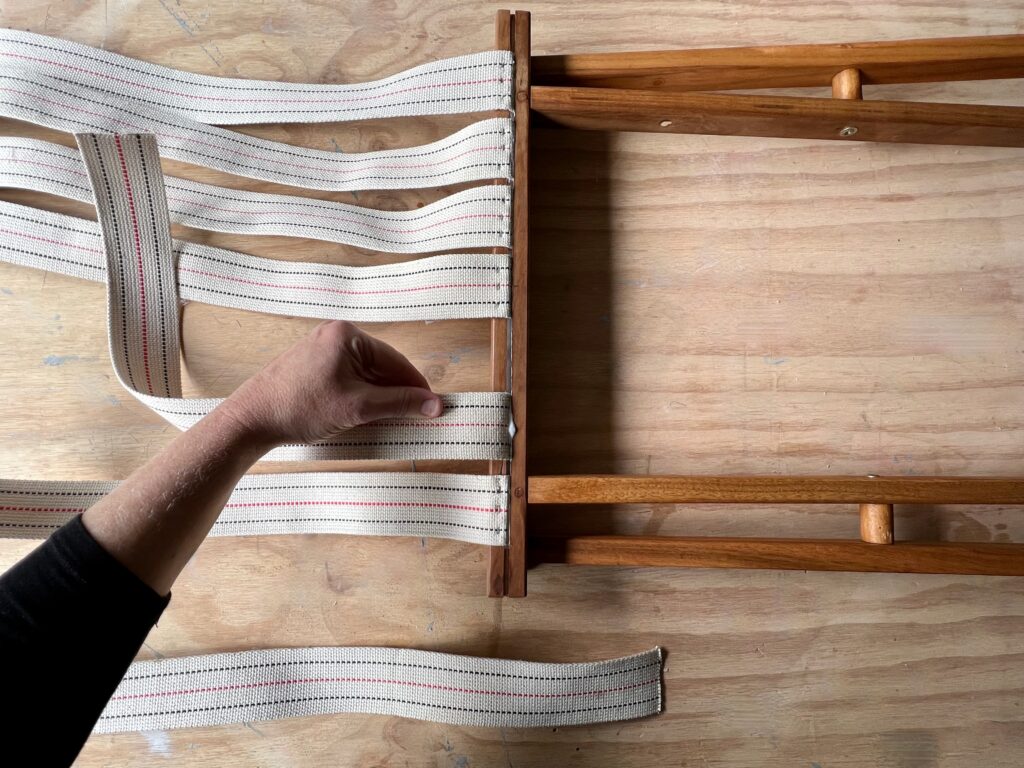
To remake the seat with 50mm-wide cotton webbing, I cut seven 535mm lengths with scissors. Then I ran Bondall Bondcrete woodworking adhesive along one seat groove, pushing in the webbing evenly and folding it over to staple into the side.
TIP One 10m roll of webbing is more than enough. Adjust the number of pieces and lengths to suit the style of your chair.
STEP 11 BondCrete
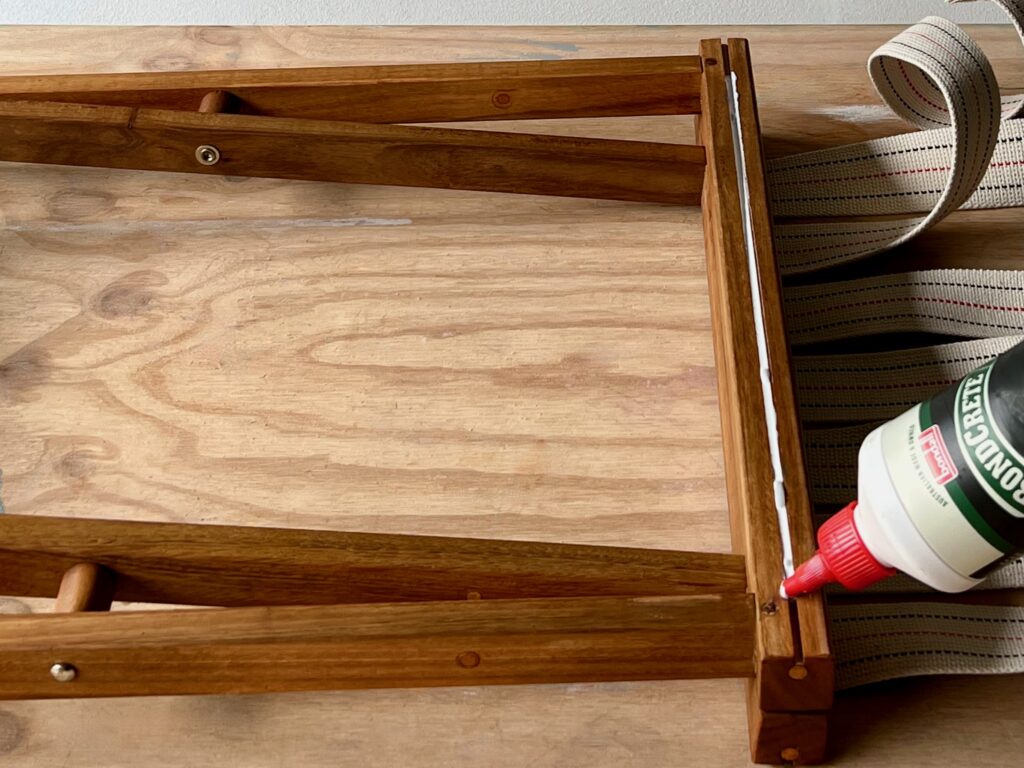
I flipped the frame over to apply BondCrete into the opposite groove, folded over the webbing and pushed in the ends.
TIP The BondCrete dries to harden the threads to prevent fraying, but avoid applying too much. Use a damp cloth to mop up the excess.
STEP 12 Staple
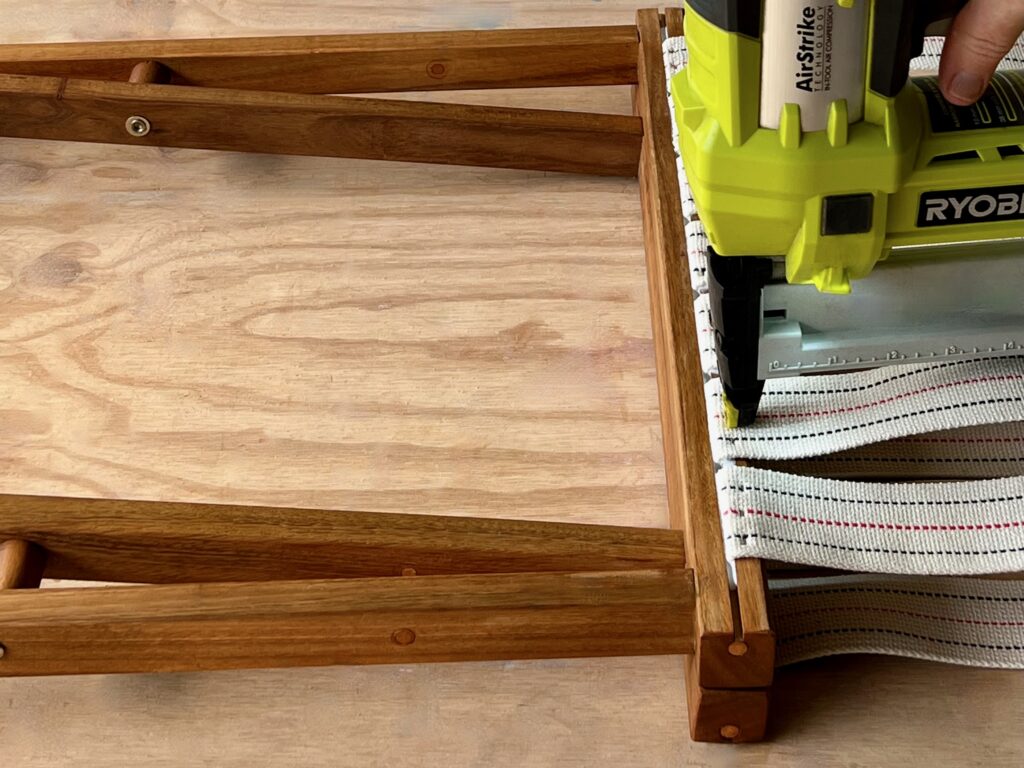
Using a crown stapler, I secured three 16mm crown staples into each piece of webbing.
TIP It’s worth investing in a heavy-duty stapler as I found regular staplers weren’t powerful enough to push staples into the hardwood.
STEP 13 Rail webbing
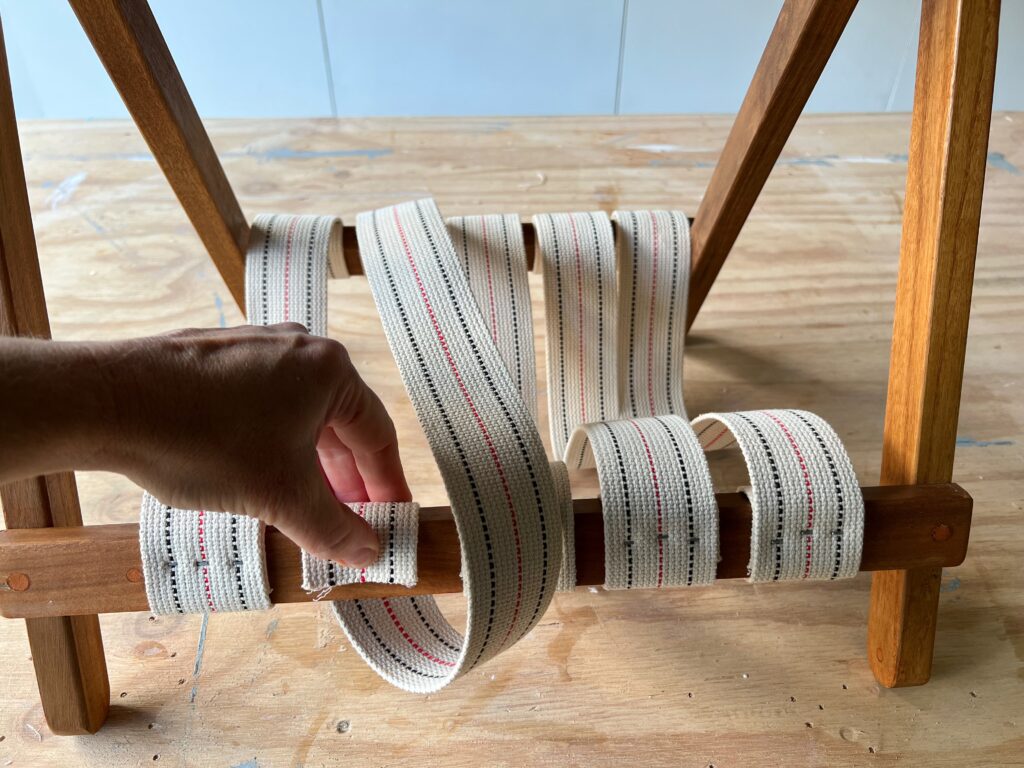
To make the base, I cut five 700mm webbing lengths. On the smaller frame, I positioned each piece on the rail, facing down, and tacked the ends with two vertical staples. Then I folded it around the rail to cover the ends and secured with three staples. For the opposite side, I held the frame together to fold over the webbing and secured in the same way.
STEP 14 Finished
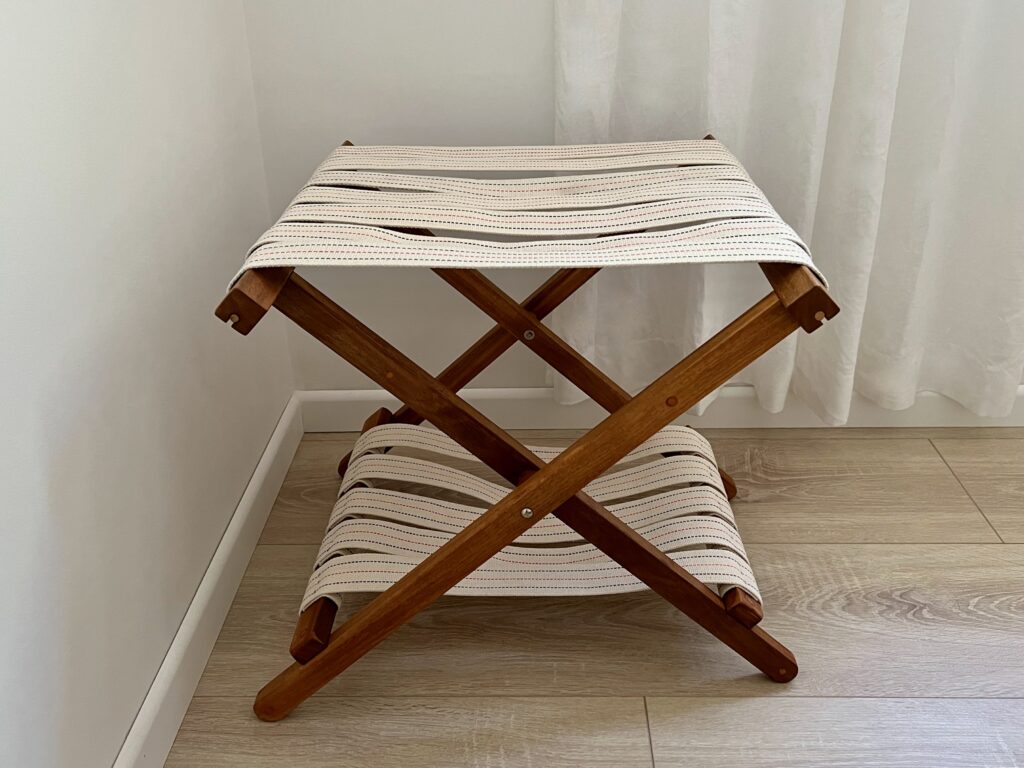
When weight is applied, the webbing pulls straight to provide a stable platform for luggage.
If you’re planning to try this clever hack, be sure to post on Facebook and Instagram, tagging @bondall.au, @monocel.timbercare and @littleredindustries.